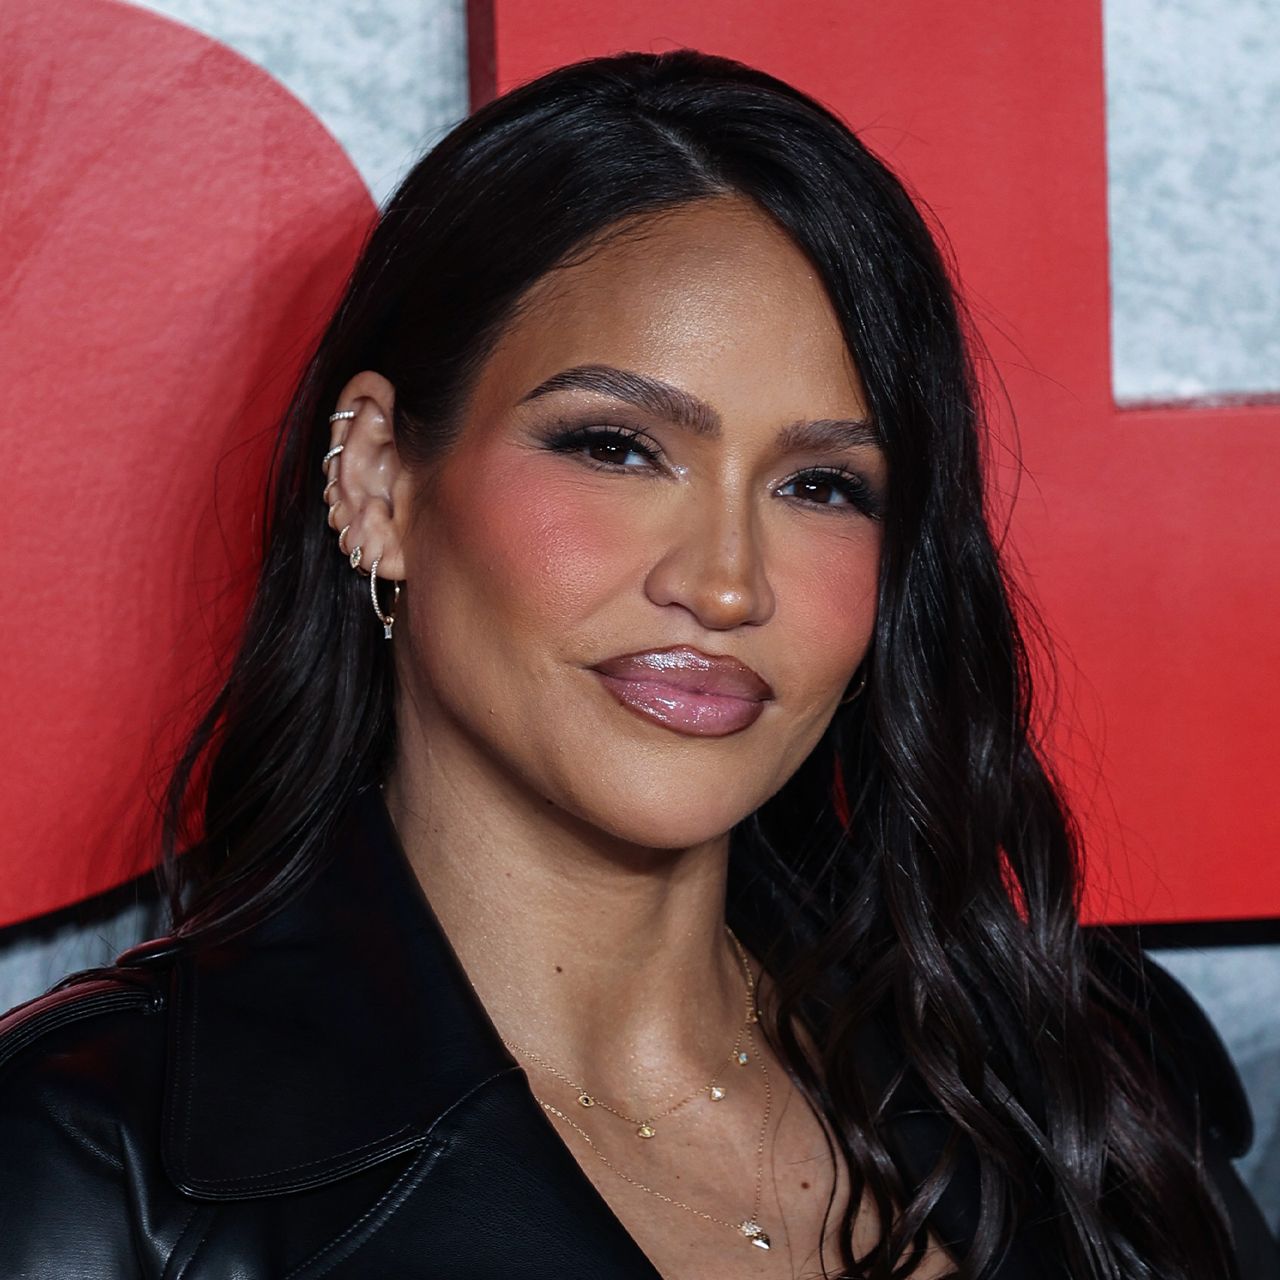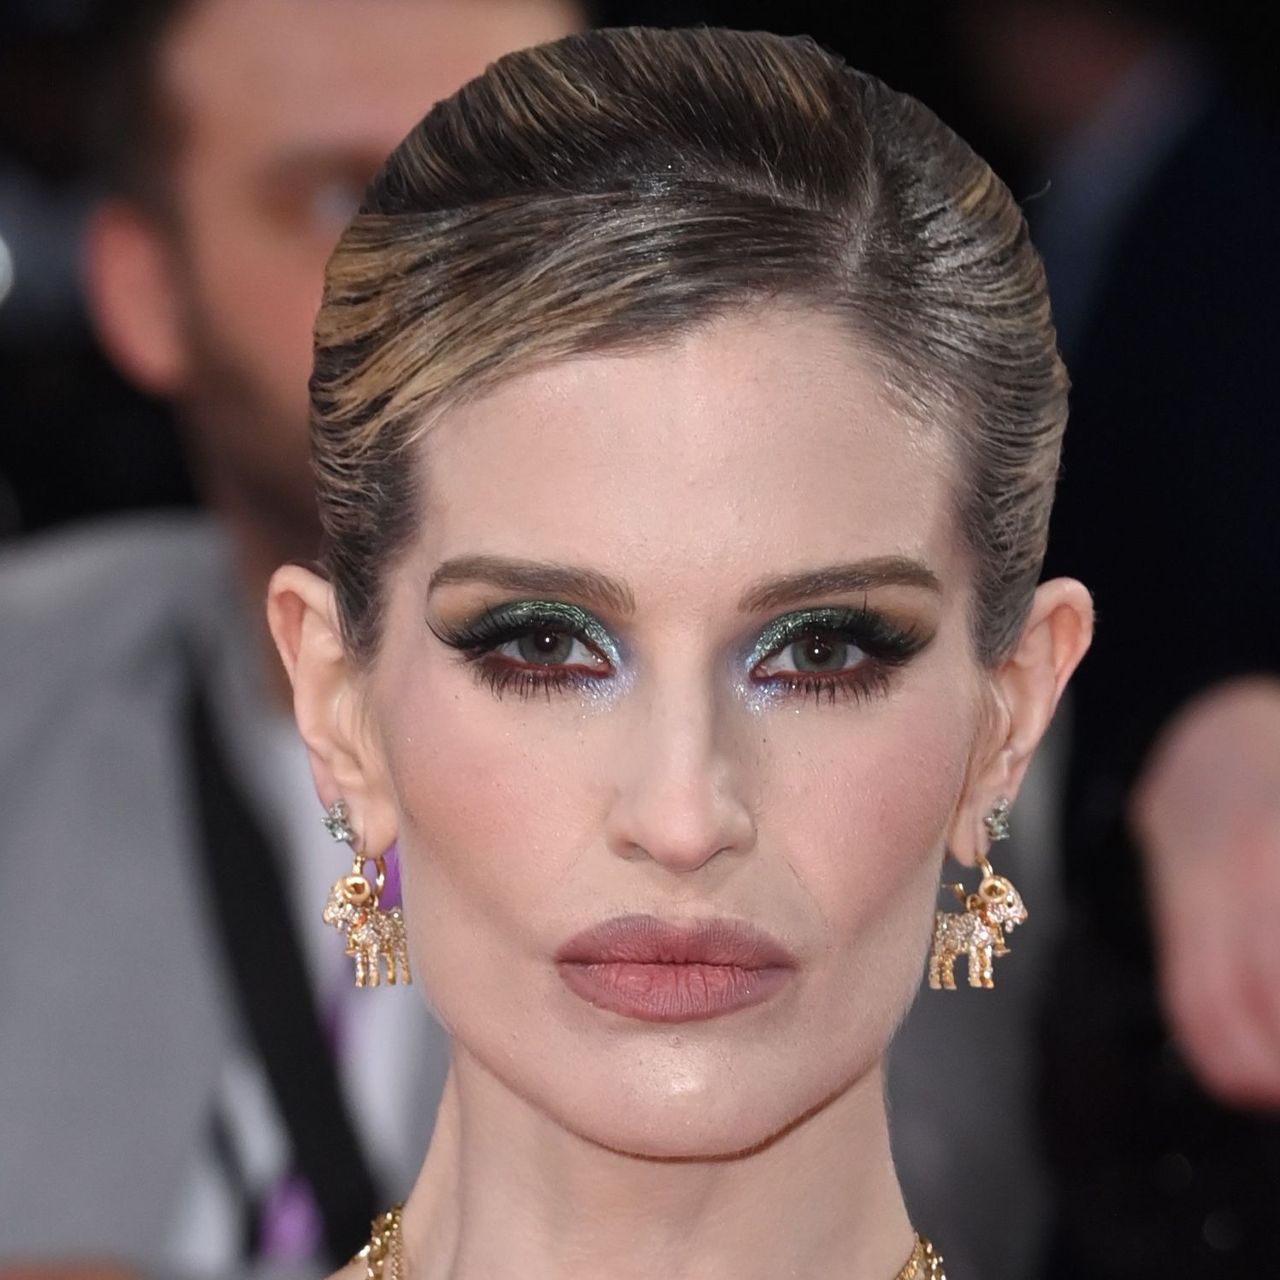



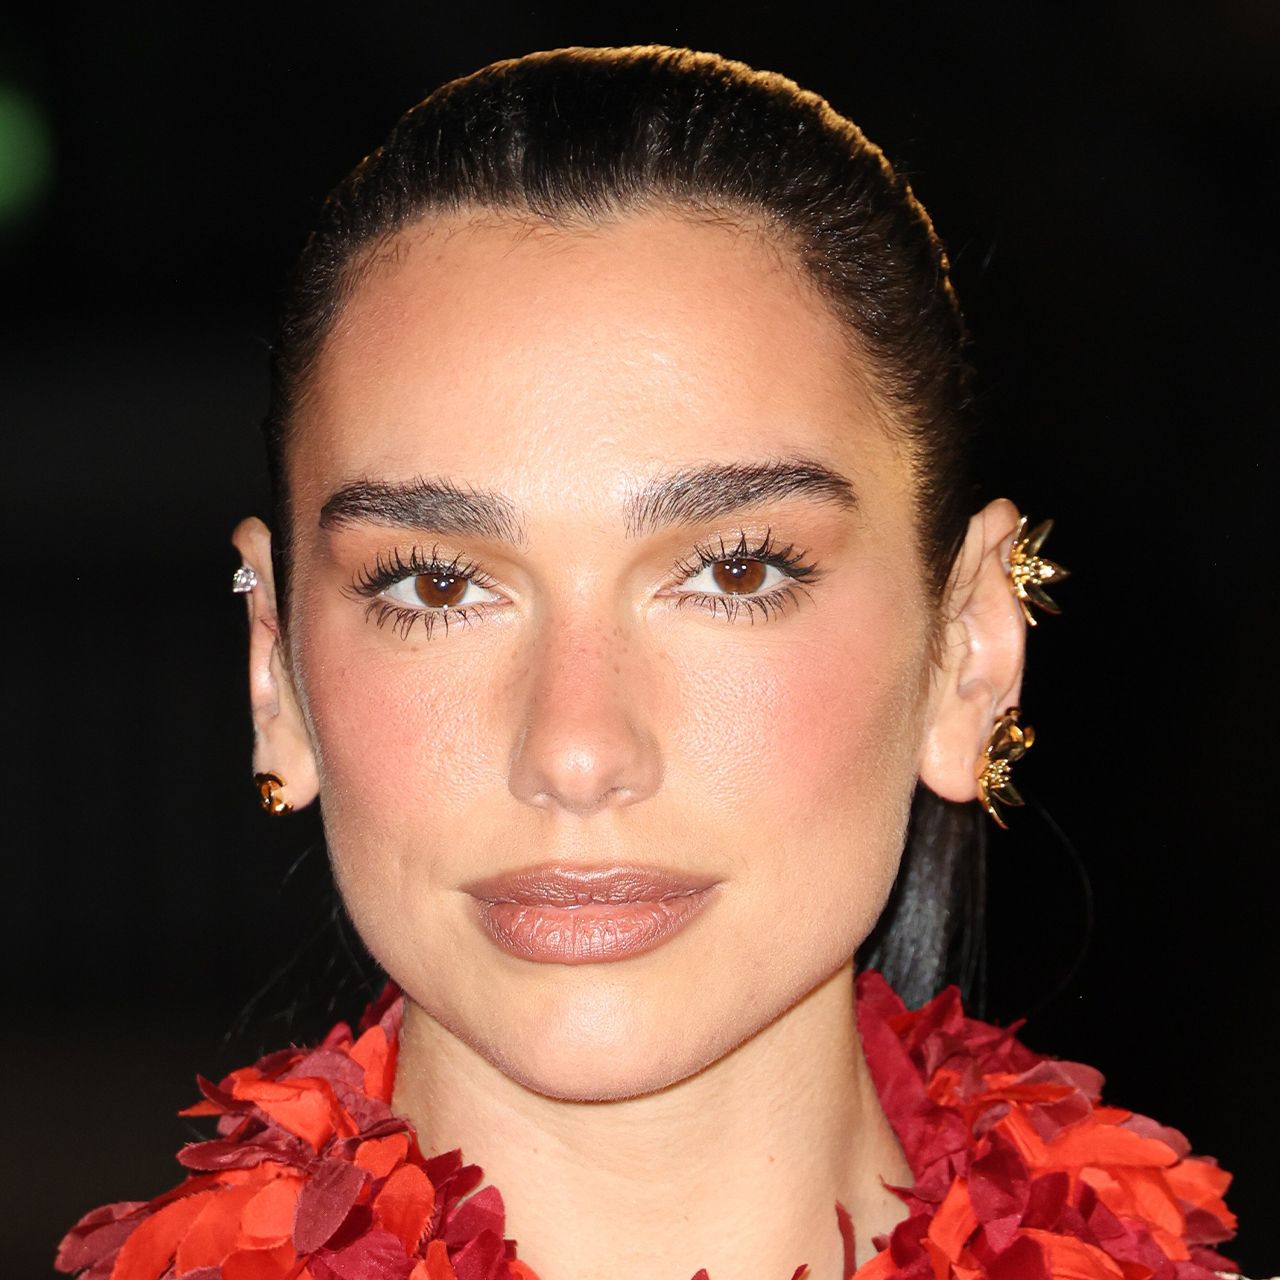

Eyebrows don’t just sit above the eyes minding their own business. They have the power to frame the entire face, and the right shape and subtle definition can lift features, balance proportions, and add structure in a way that would make foundation or mascara blush. Even on makeup-free days, groomed brows bring polish to your look, and enhance your natural look without announcing to the world that you’ve even tried. When we skip them, though, something can feel slightly unfinished.
Still, brows can be intimidating. The fear of making common eyebrow mistakes like going too dark or too severe keeps many people from filling in sparse or thinning areas at all. But brows don’t have to be complicated.
One makeup artist breaks the process down into three clear, foolproof tips that make achieving naturally fuller-looking brows simple. And don’t worry: you won’t find overdrawn arches or harsh lines.

Women Are Swapping Their Boring Water For This Ice Pop Electrolyte Mix!

1. Choose a Pencil in a Shade Close To Your Brows
Start by selecting a brow pencil that closely matches your natural brow, or is a shade lighter. Going too dark can make sparse areas look harsh and drawn-on, while a shade that blends seamlessly will mimic the look of real hair. Use light pressure and a fine tip to create small, hairlike strokes instead of heavy lines. This approach builds density where you’re thin in a softer way and without overwhelming your features, making brows appear naturally fuller instead of obviously filled in.

2. Make Dots to Outline the Ideal Brow
If brow shaping feels intimidating, makeup artists suggest (literally) mapping it out first. Use your pencil to place tiny dots marking where your brow should begin (aligned with the side of your nose), your arch (above the outer edge of your iris), and the tail end (angled from the outer corner of your eye). Then lightly dot along the bottom and top edges to create a lightly drawn-on guide. This subtle outline keeps you from over-thickening the brow and gives sparse brows a balanced structure to follow, which helps the final result look lifted and symmetrical.

3. Fill in Brows and Set with Clear Brow Gel
Once your outline is in place, fill in gaps using short, upward strokes that follow your natural hair growth. Concentrate on the sparsest areas first, and build them up gradually so the inner corners stay soft. After filling in your brows with pencil, brush through them with a spoolie to blend and remove excess product. Finish it all off with a clear brow gel to set the hairs in place and add a touch of dimension. Voila—you now have perfect brows in just three easy steps.